Installation of Nginx is straightforward as it is available in Ubuntu's default repository.
First, we will update our local package index, then we will install Nginx:
$ sudo apt-get update
$ sudo apt-get install nginx
Now we need to adjust the firewall.
First, we will reconfigure our firewall to allow access to the service. Nginx registers itself as a service with ufw, which makes it easy to allow Nginx access.
$ sudo ufw app list
Output:
Available applications: Nginx Full Nginx HTTP Nginx HTTPS OpenSSH
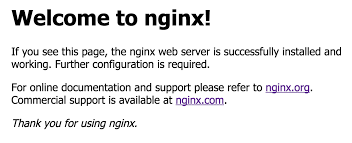
Check your web server:
$ systemctl status nginx
Host Multiple Websites on Nginx:
After a successful install, go to the following path: /etc/nginx/sites-enabled. Remove the default file as we will not be using it.
rm -rf default (Normally -rf is used to delete folder and its sub contents)
Now go to the following path: /etc/nginx/sites-available/. Create a file for your website (preferably your website name).
vi yourwebsite
Write the following code in the file, specifying the port and host you want to point to:
server {
listen 80;
server_name subdomain.yourwebsite.com;
location / {
proxy_pass "http://127.0.0.1:8080";
}
}
Save the file. Now you have to link the file from sites-available to the file in sites-enabled. Use the following code:
ln -s /etc/nginx/sites-available/yourwebsite /etc/nginx/sites-enabled/yourwebsite
Now check the correctness of the file and restart Nginx to see the changes:
nginx -t
service nginx restart