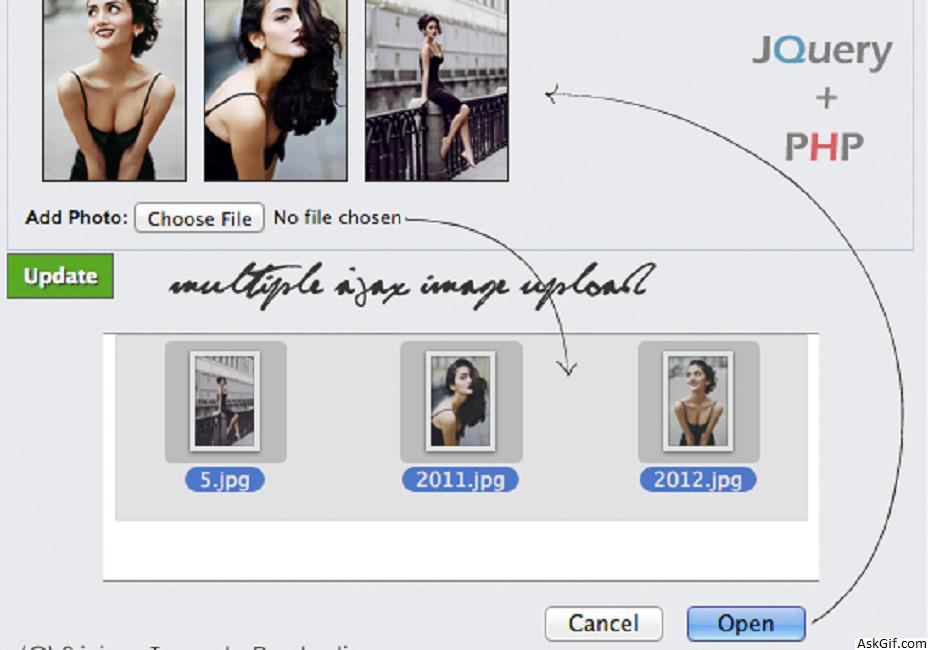
Few days back I had posted an article about Multiple ajax image upload without refreshing the page using jquery and PHP. In this post, I have updated a few lines of code that allows to user can select and upload multiple images in a single shot.
Sample database design for Users.
Users
Contains user details username, password, email, profile_image and profile_image_small etc.
CREATE TABLE `users` (
`user_id` int(11) AUTO_INCREMENT PRIMARY KEY,
`username` varchar(255) UNIQUE KEY,
`password` varchar(100),
`email` varchar(255) UNIQUE KEY
)
User Uploads
Contains user upload details upload_id, image_name, user_id_fk(foreign key) and timestamp etc.
CREATE TABLE `user_uploads` (
`upload_id` int(11) AUTO_INCREMENT PRIMARY KEY,
`image_name` text,
`user_id_fk` int(11),
`created` int(11)
)
Javascript Code
$("#photoimg").on('change',function(){})- photoimg is the ID name of INPUT FILE tag and $('#imageform').ajaxForm() - imageform is the ID name of FORM. While changing INPUT it calls FORM submit without refreshing page using ajaxForm() method. Uploaded images will prepend inside #preview tag.
<script type="text/javascript" src="http://ajax.googleapis.com/
ajax/libs/jquery/2.1.1/jquery.min.js"></script>
<script type="text/javascript" src="jquery.wallform.js"></script>
<script type="text/javascript">
$(document).ready(function()
{

$('#photoimg').on('change', function()
 {
var A=$("#imageloadstatus");
var B=$("#imageloadbutton");

$("#imageform").ajaxForm({target: '#preview',
beforeSubmit:function(){
A.show();
B.hide();
},
success:function(){
A.hide();
B.show();
},
error:function(){
A.hide();
B.show();
} }).submit();
});

});
</script>
Here hiding and showing #imageloadstatus and #imageloadbutton based on form upload submit status.
index.php
Contains simple PHP and HTML code. Here $session_id=1 means user id session value.
<?php
include('db.php');
session_start();
$session_id='1'; // User login session value
?>
<div id='preview'>
</div>
<form id="imageform" method="post" enctype="multipart/form-data" action='ajaxImageUpload.php' style="clear:both">
Upload image:
<div id='imageloadstatus' style='display:none'><img src="loader.gif" alt="Uploading...."/></div>
<div id='imageloadbutton'>
<input type="file" name="photos[]" id="photoimg" multiple="true" />
</div>
</form>
ajaxImageUpload.php
Contains PHP code. This script helps you to upload images into the uploads folder and it will rename image file into timestamp+session_id.extention format to avoid duplicates. This system will store image files into user_uploads with user session-id tables
<?php
error_reporting(0);
session_start();
include('db.php');
$session_id='1'; //$session id
define ("MAX_SIZE","2000"); // 2MB MAX file size
function getExtension($str)
{
$i = strrpos($str,".");
if (!$i) { return ""; }
$l = strlen($str) - $i;
$ext = substr($str,$i+1,$l);
return $ext;
}
// Valid image formats
$valid_formats = array("jpg", "png", "gif", "bmp","jpeg");
if(isset($_POST) and $_SERVER['REQUEST_METHOD'] == "POST")
{
$uploaddir = "uploads/"; //Image upload directory
foreach ($_FILES['photos']['name'] as $name => $value)
{
$filename = stripslashes($_FILES['photos']['name'][$name]);
$size=filesize($_FILES['photos']['tmp_name'][$name]);
//Convert extension into a lower case format
$ext = getExtension($filename);
$ext = strtolower($ext);
//File extension check
if(in_array($ext,$valid_formats))
{
//File size check
if ($size < (MAX_SIZE*1024))
{
$image_name=time().$filename;
echo "<img src='".$uploaddir.$image_name."' class='imgList'>";
$newname=$uploaddir.$image_name;
//Moving file to uploads folder
if (move_uploaded_file($_FILES['photos']['tmp_name'][$name], $newname))
{
$time=time();
//Insert upload image files names into user_uploads table
mysql_query("INSERT INTO user_uploads(image_name,user_id_fk,created) VALUES('$image_name','$session_id','$time')");
}
else
{
echo '<span class="imgList">You have exceeded the size limit! so moving unsuccessful! </span>'; }
}

else
{
echo '<span class="imgList">You have exceeded the size limit!</span>';
}

}

else
{
echo '<span class="imgList">Unknown extension!</span>';
}

} //foreach end

}
?>
db.php
Database configuration file, just modify database credentials.
<?php
$mysql_hostname = "localhost";
$mysql_user = "username";
$mysql_password = "password";
$mysql_database = "database";
$prefix = "";
$bd = mysql_connect($mysql_hostname, $mysql_user, $mysql_password) or die("Opps some thing went wrong");
mysql_select_db($mysql_database, $bd) or die("Opps some thing went wrong");
?>
CSS
#preview
{
color:#cc0000;
font-size:12px
}
.imgList
{
max-height:150px;
margin-left:5px;
border:1px solid #dedede;
padding:4px;
float:left;
}

