How to create EC2 instance on AWS Free Tier plan.
This blog is in continuation of HOW TO CREATE AWS FREE TIER ACCOUNT. If you have missed it, please revisit.
Once your AWS account is active, you can see the following screen after login.

AI-generated summary · May not capture all nuances
"To create an EC2 instance on AWS Free Tier, log into your AWS account and navigate to the EC2 dashboard."
— How to create EC2 instance on AWS Free Tier plan.
How to create EC2 instance on AWS Free Tier plan.
This blog is in continuation of HOW TO CREATE AWS FREE TIER ACCOUNT. If you have missed it, please revisit.
Once your AWS account is active, you can see the following screen after login.
🛒 You'll Need This
Products related to this article

Bru
Bru Gold|Premium Freeze Dried Coffee|Experience Intense Coffee Taste|Aromatic Instant Coffee|200 Grams,Granule,Bag

Sunrise Pure
Sunrise Pure, Shahi Garam Masala Powder - 50 grams (Pouch)

Prabhuji
Prabhuji Epiken Pure Food Bhujia, Potato Namkeen, Crispy indian Snacks, Tea Time Snack Spicy Bhujia Tasty Munchies Party Snack Food- 900 G.
As an Amazon Associate, AskGif earns from qualifying purchases
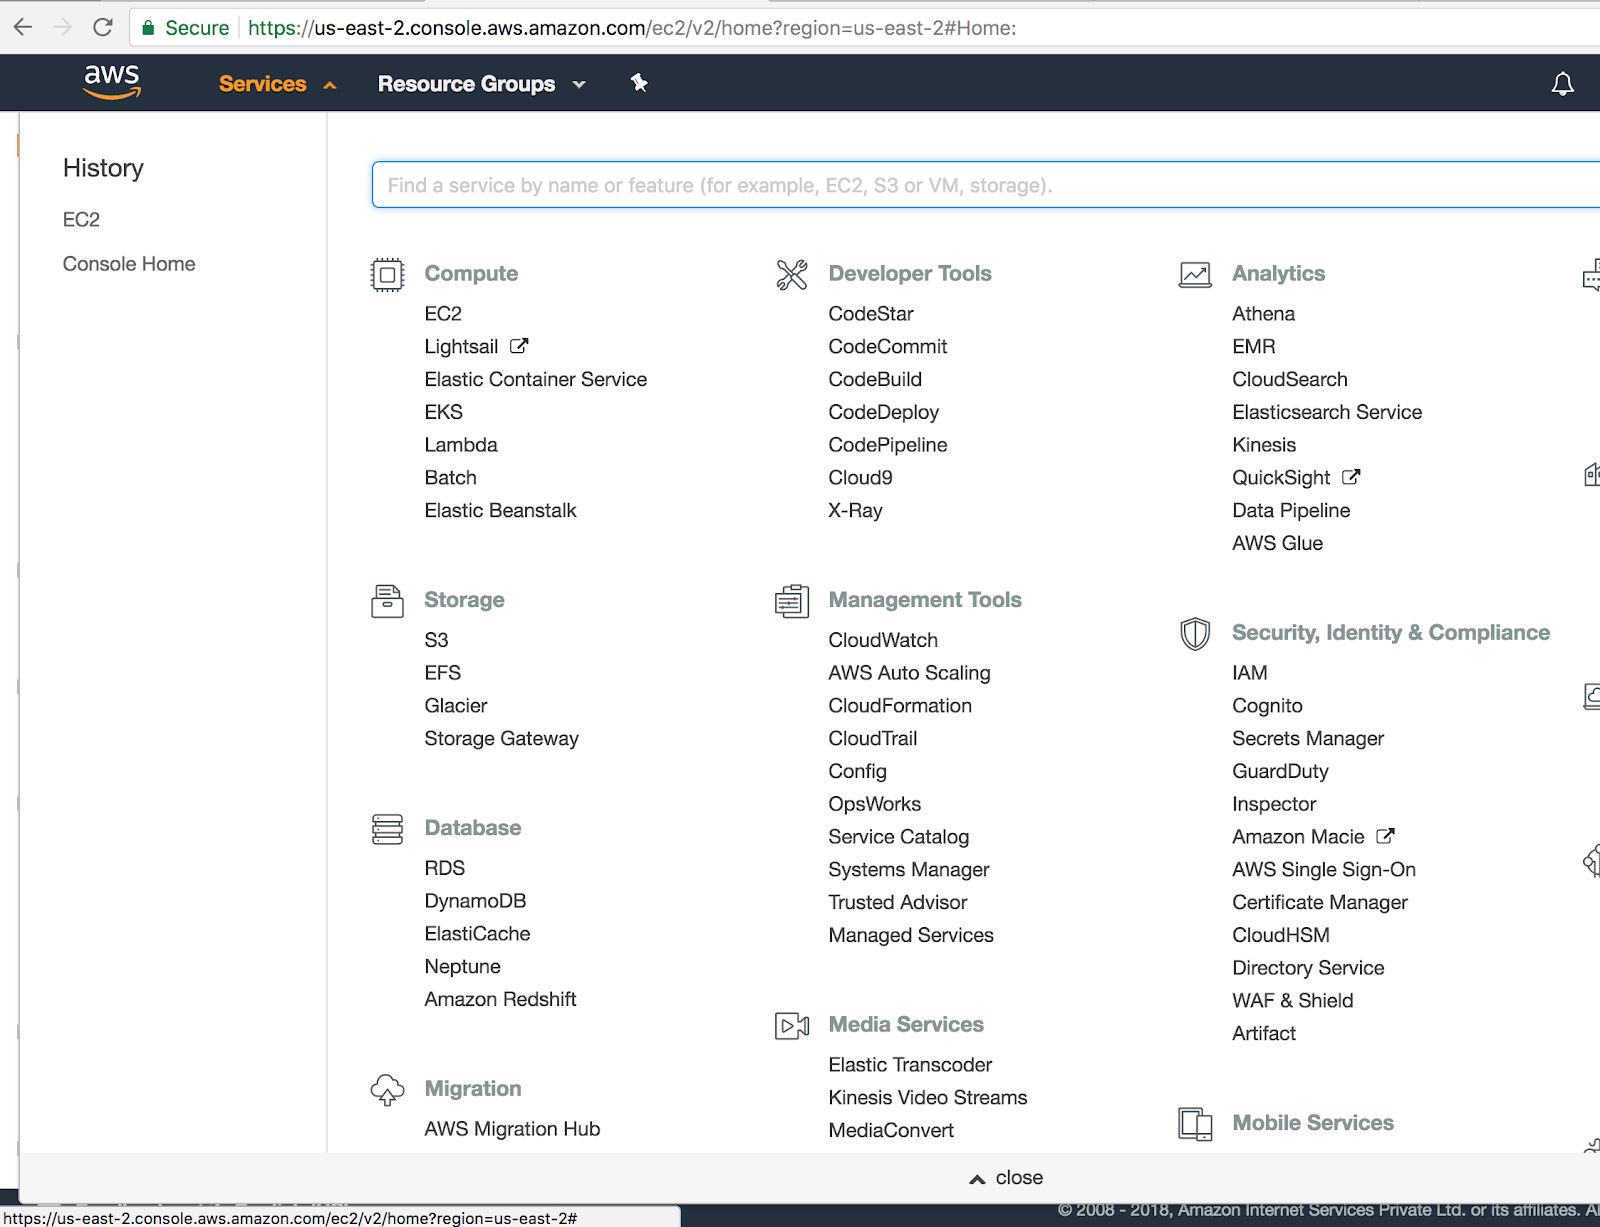
Go to the services link at the top. Once you click on the services link, you will be able to see the following menus:
Products related to: 1. AWS Services List
Amazon affiliateClick on the EC2 link to open the EC2 dashboard. Once you click on the EC2 link, you will be able to see the following dashboard page.
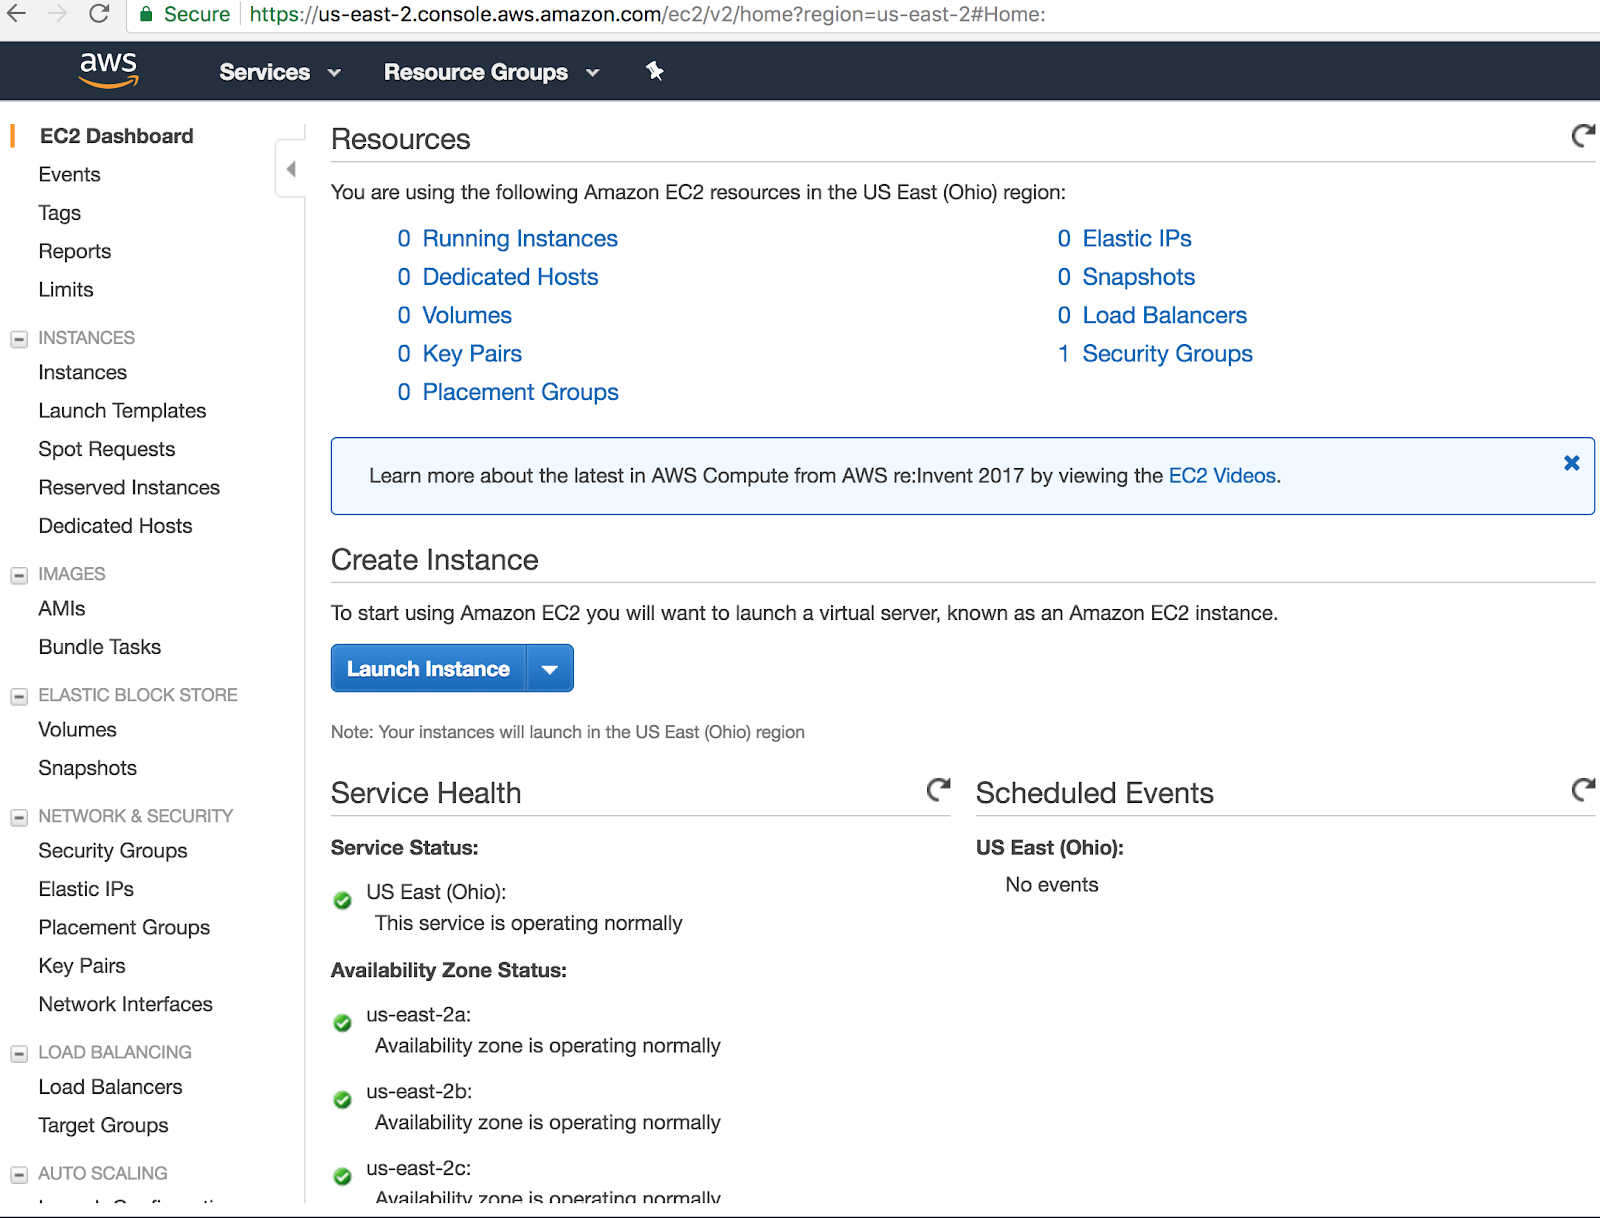
You can see there is 0 Running instances. Now click on Running instances to see all instances if they exist already.
Once you click on Launch instance, you should be able to see the following page:
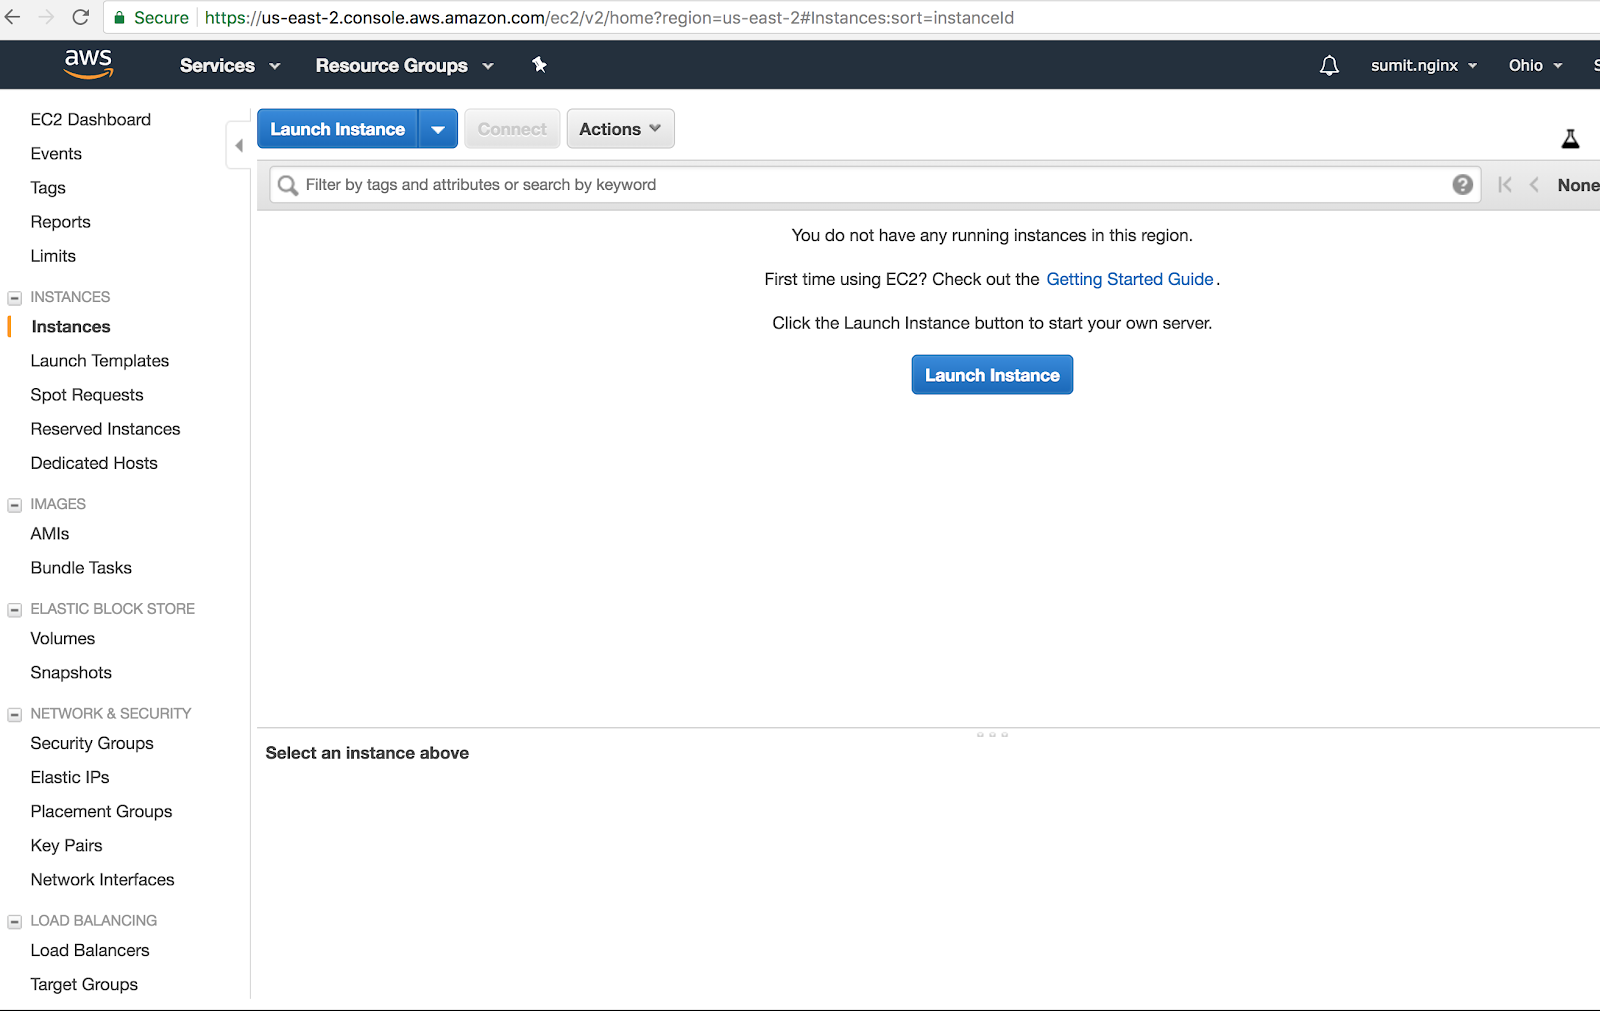
Click on the Launch Instance Button to launch your first EC2 instance (free tier). You will be redirected to the following page. Click on Ubuntu Server 16.04.
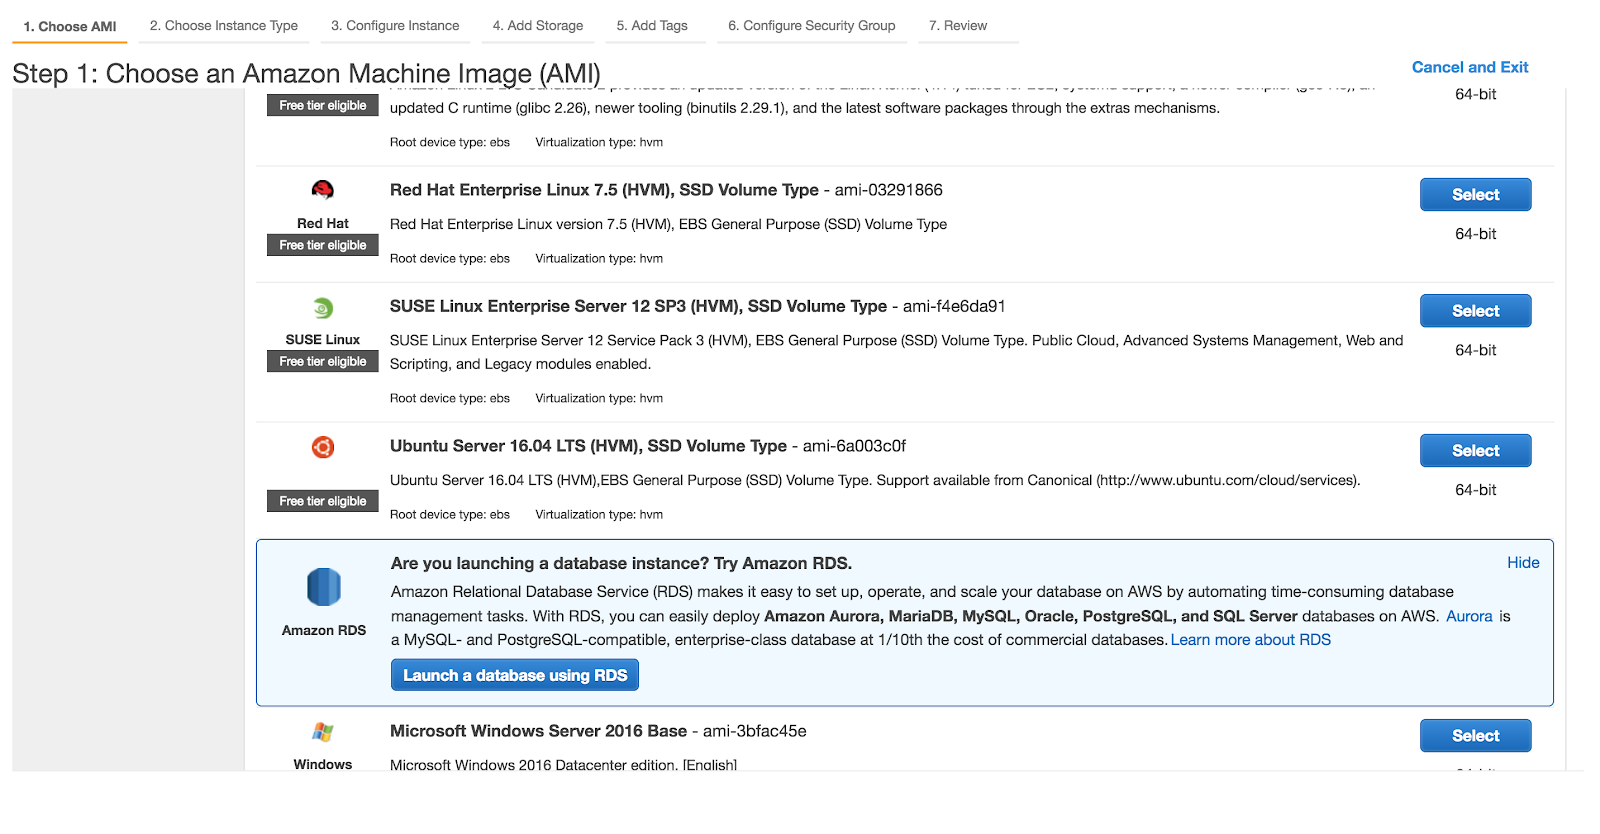
After you select the AMI machine type, you will be asked for the following configurations. Select t2.micro (free tier eligible) instance.

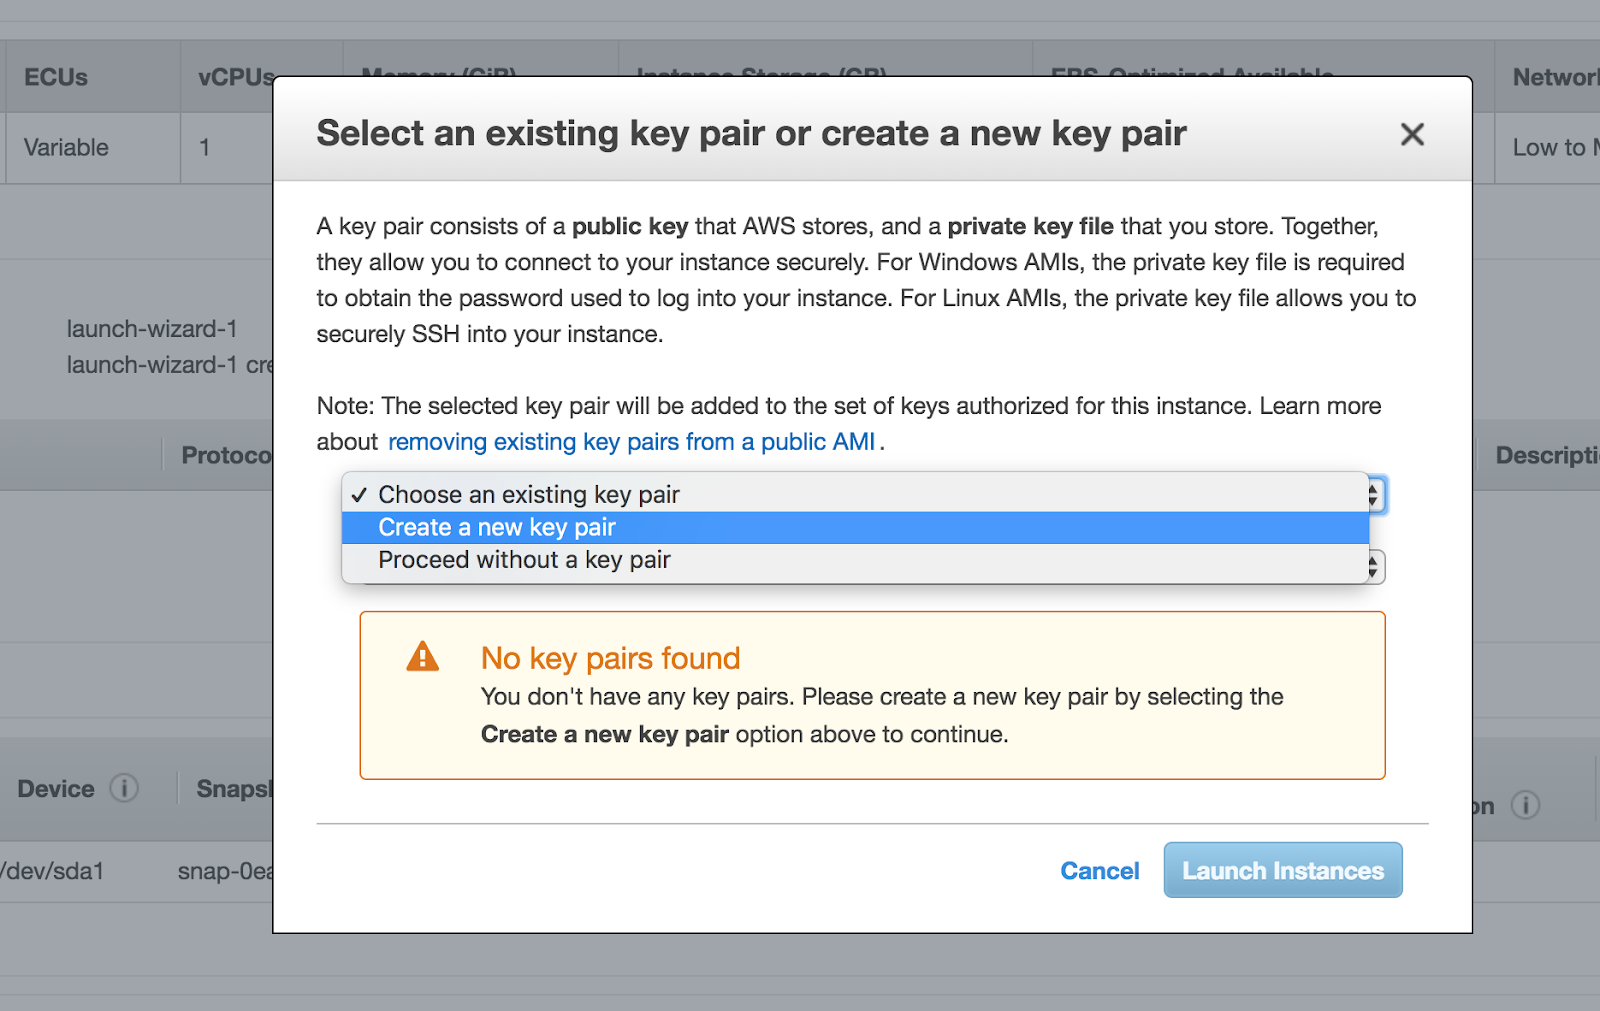
You will be asked to create a new key pair. This will be used to connect to your EC2 instance through SSH. Create and download the key pair to your system.
After creating and downloading your key, click on Launch Instances. You will be able to see the following screen, which confirms that your EC2 instance is now running, and you can check on View Instances.
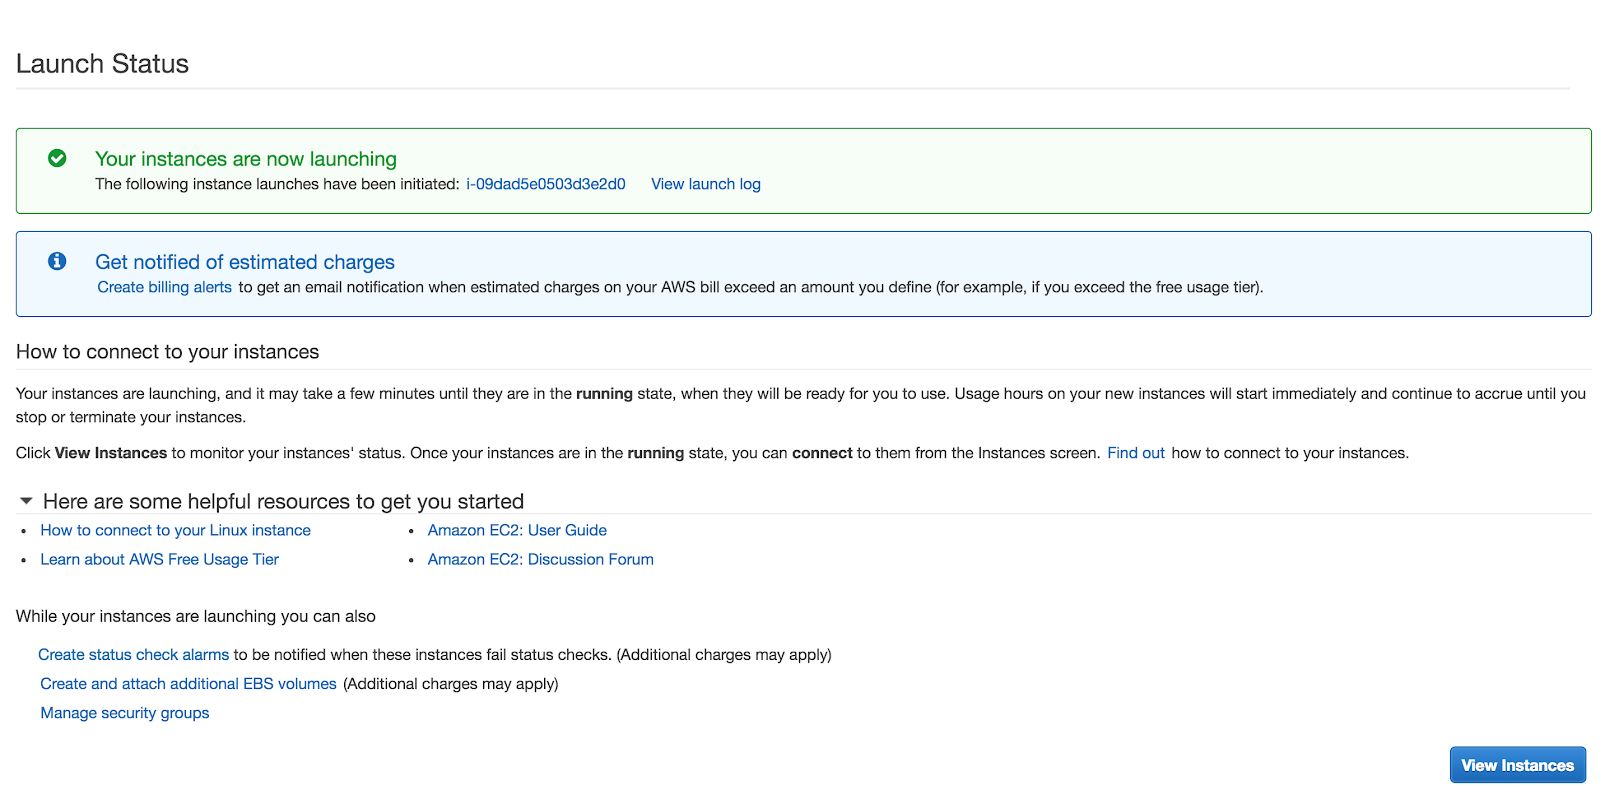
Click on View Instances. You will be able to see the Instance details. Go to Security Groups to change the security settings for the instance.
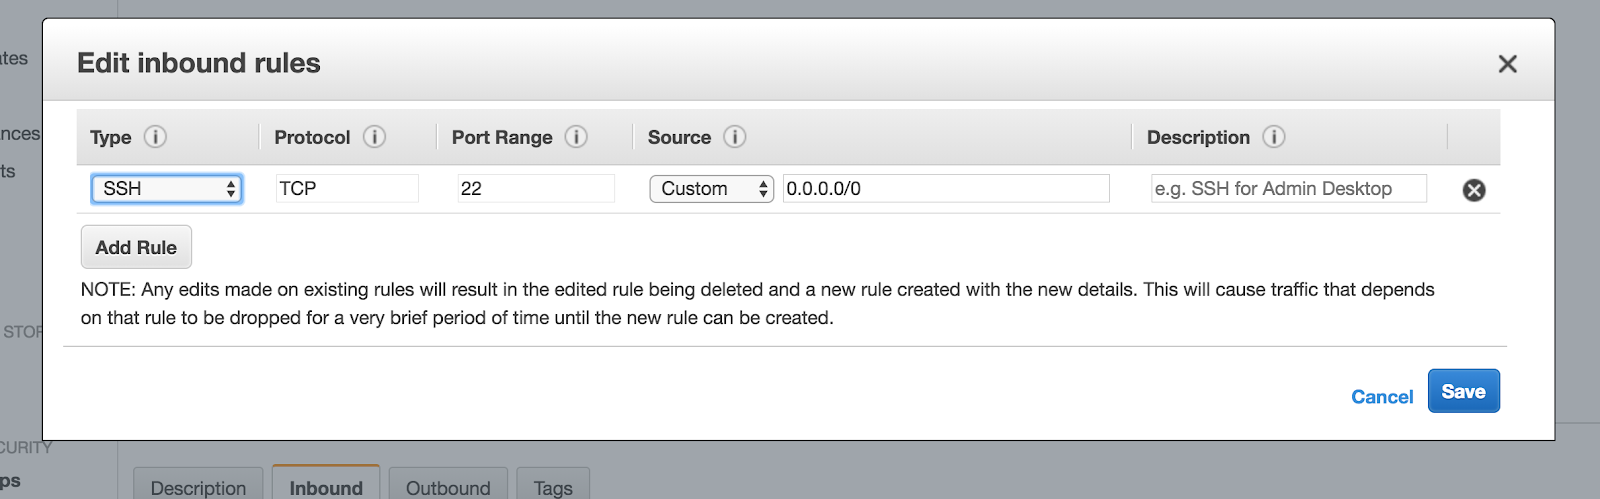
Beware: only make those ports public which you want to.
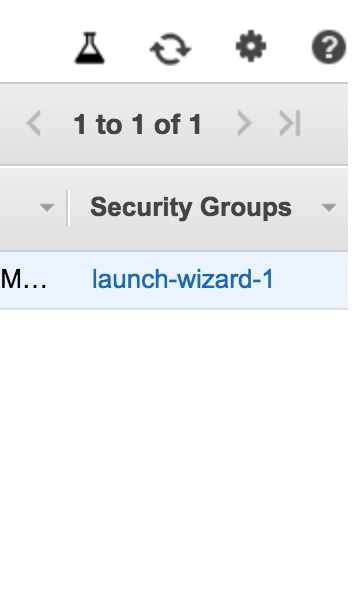
By default, SSH is enabled in the security group. You can edit it as per your need. (See the below image for reference).